
Creating Your Personal Stamp
By now you know what letterboxing is and hopefully have enjoyed a few letterboxing adventures of your own. (Wait, you don’t know what it is?!? Get busy reading my Letterboxing 101 post first and then come right back!)
It’s pretty common when people begin letterboxing to just purchase a ready-made stamp from a craft store. And that’s okay, because at least it means you’re letterboxing! But it’s fun to create your own stamp, and these “personal logos” are much more unique and interesting than the store-bought fare.
Here’s what you’ll need to create your first stamp:
Paper (to sketch your design and test your stamp)
Pencil
Carving block
Carving gouges
Ink pad
Step 1—Drawing: Begin by drawing your design on a piece of paper. A good size for your design is about 2” x 2”. Most of the logbooks you’ll be stamping are pretty small. Your design should hint at something unique or special about you, and it should have simple lines—not too much detail, at least for your first stamp. Trace over the lines of your drawing with a pencil to darken and thicken them, then press your paper, design-side-down, onto the carving block (which you should pre-slice into the size you want your stamp to be). My favorite carving block is the rubbery pink Speedy Carve. (I buy it from the local craft store and use a coupon.) With your drawing facedown, rub the paper firmly with your finger to transfer a shadow of your design onto the carving block. Before you lift the paper away from the block, peek underneath. Do you see a mirror image of your drawing? If so, you’re ready to carve. If not, carefully lower the paper and rub some more to finish transferring your pencil lines to the carving surface.


Step 2—Carving: For my first few stamps, I carved my design using an X-acto knife. While this did work, it was hard to get my carvings super clean and finessed. I upgraded to a set of carving tools from the craft store, little gouges intended for linoleum and other substrates—like letterbox stamps. Carve away all the negative space from your design, using the wider gouges to remove a lot of rubber quickly, then shifting to the narrow gouges for careful work around the lines of your design. Remember, you can always remove more rubber, but once it’s carved away you can’t put it back.

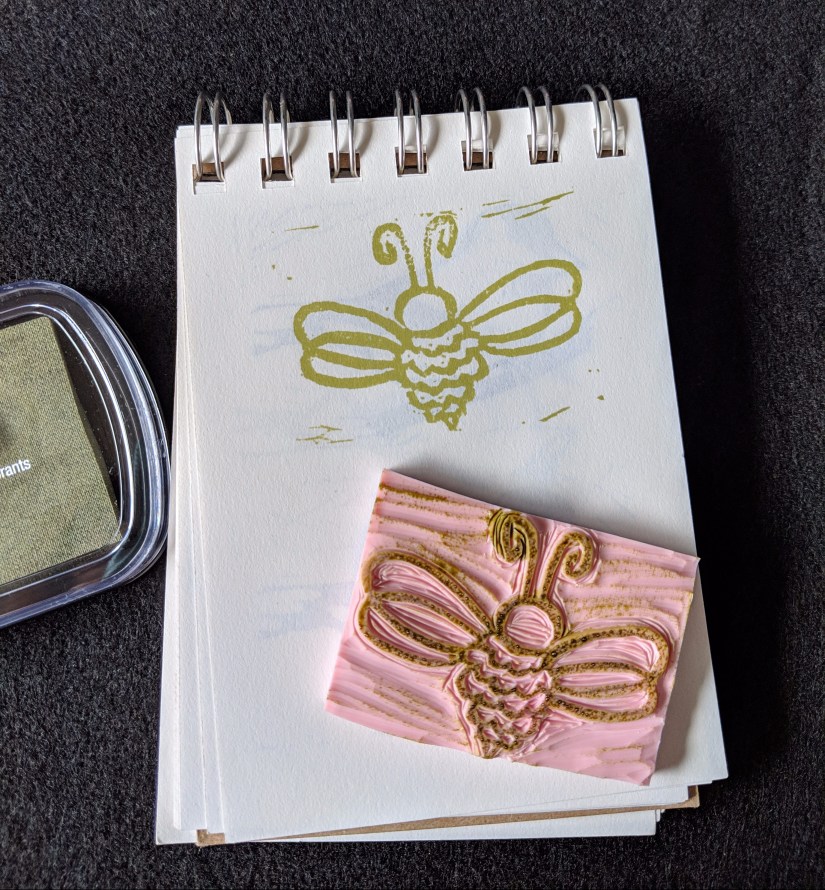
Step 3—Refining: When you think you’ve got your stamp in pretty good shape, give it a test run. Ink it up on your ink pad and press it onto a scrap sheet of paper. There will almost certainly be some spots that need further refinement. Rinse off and dry the stamp and attend to any areas that need more material removed. After a few more rounds of testing, you should be ready to hit the trail!
Now you have your very own one-of-a-kind stamp to make your mark in the letterboxing world. I’m sure you have an awesome trail name to go along with it. You are more than ready to get out there and enjoy some letterboxing adventures. Stay tuned for my third post in this series, which will help you take your letterboxing game to the next level by creating a series of your own for others to find!

2 thoughts on “Letterboxing 201”