
If you’re looking for a new craft to explore, lip balm is a fun and easy DIY project. I’ve been making my own for several years, and I have my recipe dialed in. It has a great consistency and texture—it sets up nice and firm but still glides onto your skin smoothly.
When I first decided to try making lip balm, I didn’t want to invest in a bunch of equipment or supplies that I might not use long term. Would I enjoy the craft? Would it even work? So I kept things as simple as possible while I experimented.
But I loved it! I like choosing which ingredients I do (or don’t) use on my skin, and lip balm makes a great gift—I pretty much always include one with packages I give to others. I’ve made numerous batches of lip balm using my simple setup, and it works just fine . . . though there are a few extra items that I will recommend in the directions below that I have found to be helpful in the balm-making process.

Base Recipe (will yield ~8 lip balm tubes)
The base ingredients are all readily available in stores and online. I like to purchase organic products whenever I can, and as you use very little of the ingredients in a single batch, they last a long time. These ingredients are popular in skincare products because they are moisturizing, vitamin-rich, and anti-inflammatory.
1 Tbsp unrefined coconut oil
1 Tbsp shea butter
1 Tbsp beeswax pellets

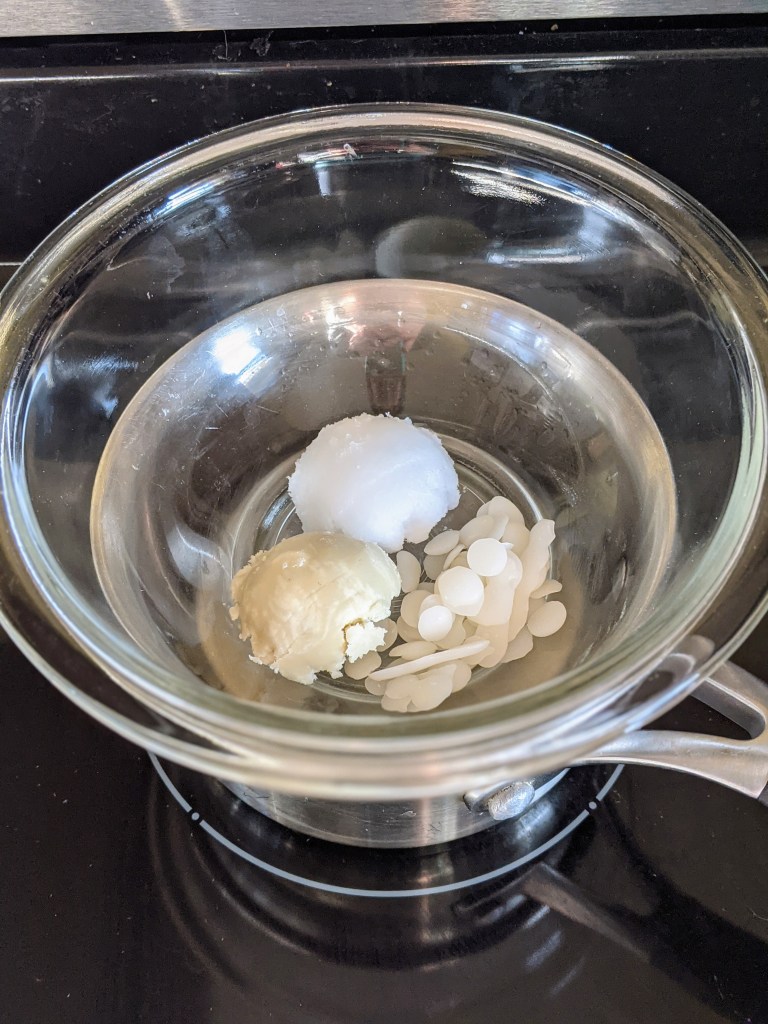
Add the ingredients to a double-boiler and gently heat until melted. (Some people use a microwave; I prefer being able to monitor the slow melting on the stovetop.) I don’t have a fancy double-boiler—I just use a glass bowl resting on top of a pan of simmering water.
After the base ingredients are melted, but before you decant the liquid into the tubes, you have many options for customizing your lip balm.


Add scent: You can add drops of essential oil to the base. Peppermint, Grapefruit, Sweet Orange, and Lavender are nice…. I’ve experimented with all of these at different times (not all at once!). Stir ~10 drops into your melted base. It’s important to add these at the end, after you remove the pan from the heat, because high temperatures can damage the delicate essential oil.
Add color: You can give your lip balm a tint of color with add-ins like hibiscus powder or cosmetic-grade mica powder. I use a very light touch with these (like 1/8 of a teaspoon), as I’ve found they can make the lip balm too “grainy” if I overdo it.
Add SPF: I did a little research on how to add SPF to homemade lip balm. Coconut oil offers a very small degree of natural protection (single-digit SPF), but Red Raspberry Seed oil can provide a somewhat higher SPF quality (source). It’s difficult to quantify exactly what protection factor these will add to your lip balm so I don’t “advertise” it on my labels, but I like knowing that my lip balm is providing at least some amount of sun protection. I add ~15 drops of Red Raspberry Seed oil to my melted base ingredients.
Tube Time!
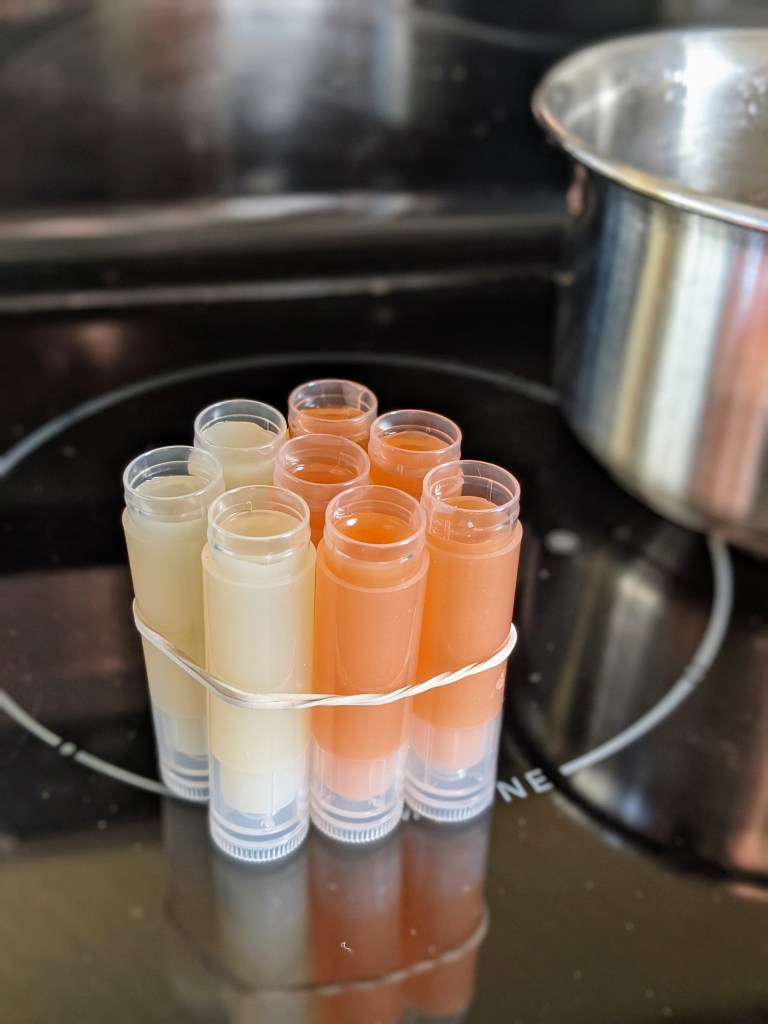
Once the lip balm base is melted and well-combined, remove it from the heat, add any custom ingredients, and prepare to get it into the tubes. You can purchase 5.5 mL tubes in bulk, in packages of 50-100, for a good price. To get the melted base into the tubes, I like to use a large 20 mL syringe. This makes it easy to draw up the liquid and neatly deposit it into each tube. Use a rubber band to secure the tubes in a little bundle so that they will not tip over while you are filling them. Allow the tubes to cool and harden for a few hours, then place the caps on them and they’re ready to use.

Labels
I didn’t use labels for my first few batches of lip balm, but once I knew that balm-making would be an ongoing craft for me, I wanted my finished products to look more polished. The labels also let people know which ingredients you used.
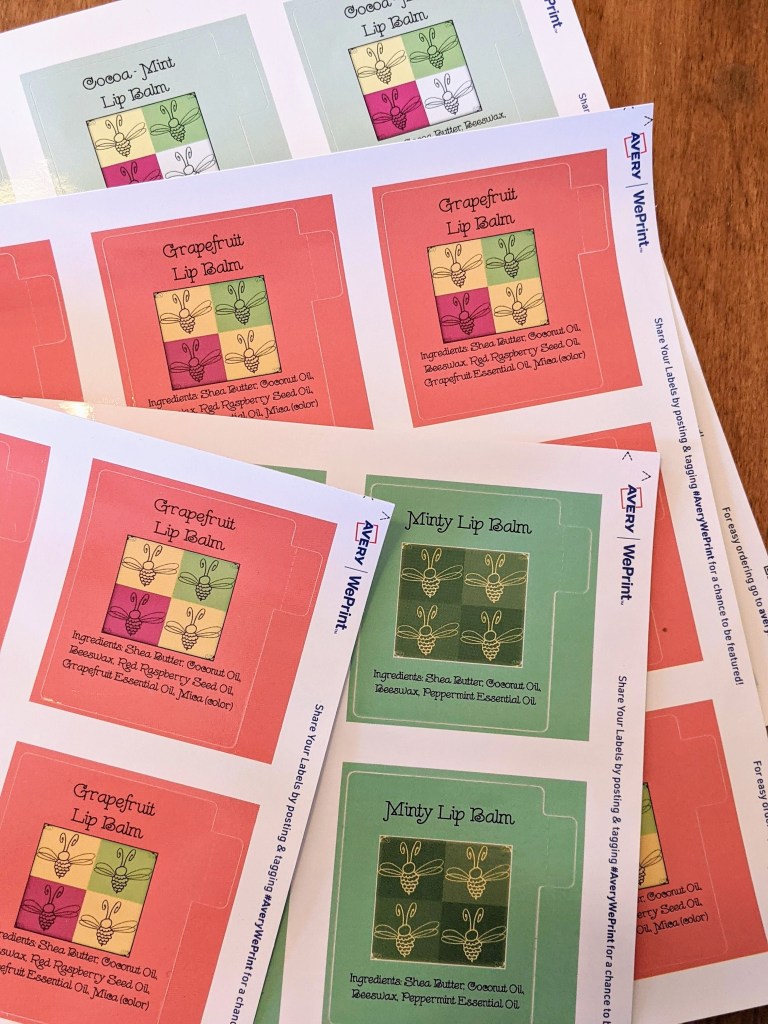
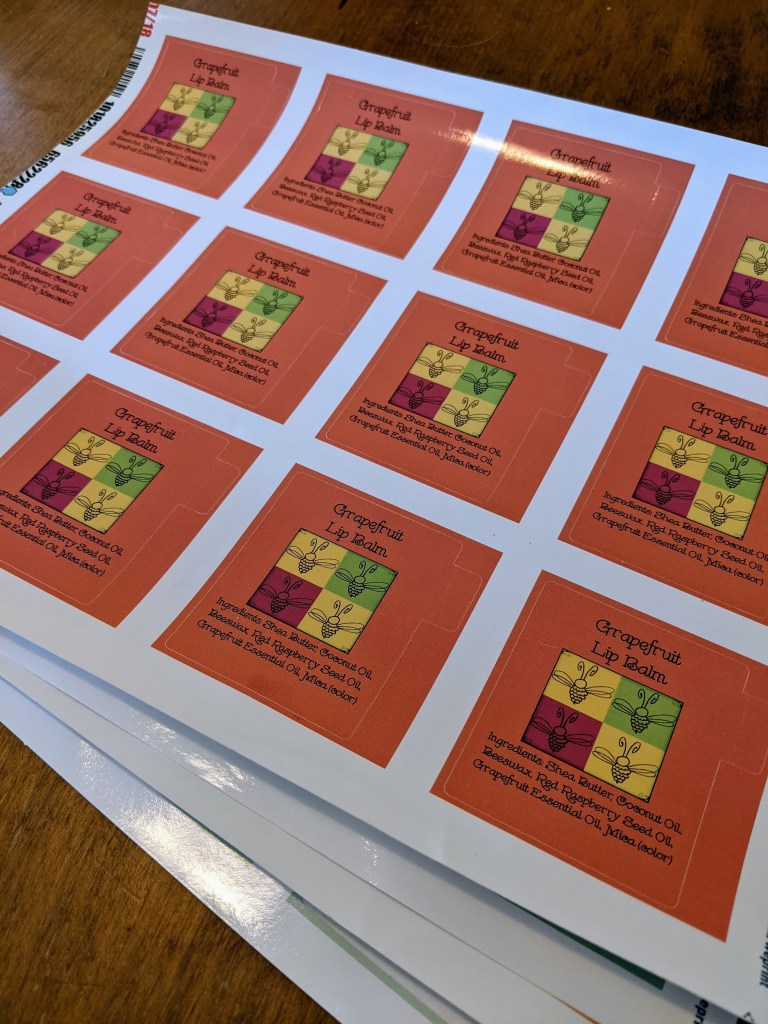
At the Avery online store, you can find a template expressly for 2 1/8” x 2 1/8” “Lip Balm Labels.” Create your custom design, order sheets of labels (12 per sheet), apply them to the tubes, and voila. Your results will look next-level professional, so don’t be surprised if people are shocked when they learn that you made the lip balm yourself!