Eat

Easy Canned Peaches

Peter Piper picked a peck of pickled peppers,
A peck of pickled peppers Peter Piper picked;
If Peter Piper picked a peck of pickled peppers,
Where’s the peck of pickled peppers Peter Piper picked?

A peck of pickled peppers? Sounds pretty tasty, but I think I’d prefer a peck of perfect peaches instead.

Red Haven peaches, to be precise. 


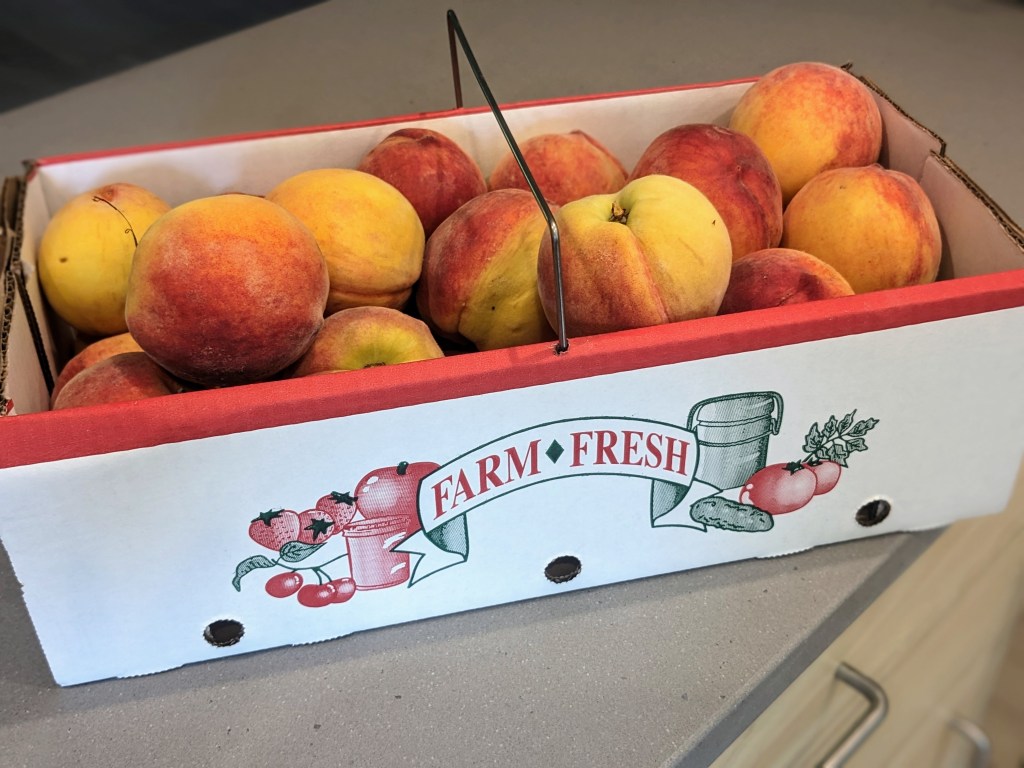
For a brief window every summer, Lynd Fruit Farm in Pataskala, Ohio, offers Red Haven peaches for sale. In a good year, Lynd sells peaches from its own orchard. But peach-growing is a delicate business, and this year Lynd lost 90 percent of its peaches due to an extra harsh cold snap in December. They source from other farms when necessary, and this year (2023) most of the Red Havens came from Pennsylvania. 


Red Haven peaches are a freestone variety, meaning that the peach pit separates easily from the flesh when the peach is ripe. I’ve mistakenly purchased clingstone peaches for canning in the past, and there is nothing more frustrating than losing half of your peach to a clingy pit! 

So Red Havens are perfect for summertime canning. They are creamy and yellow with just the right amount of sweetness…. When you find yourself craving a little taste of summer during the dark of winter, just pull out a jar of delicious peaches.


There are many different methods for canning peaches. Most involve cooking a light, medium, or heavy sugar syrup to pour over the peaches. I’ve seen one recipe that topped off each jar of peaches with a glug of bourbon. But this year I used a unique method I learned about from one of my favorite people at school, our librarian.

I’ve mentioned Deanna before. She has very discerning taste, and not just in books. She’s kind of a foodie. We both enjoy local and home-made goods, and we’ve exchanged jams, pickles, relishes, and preserves for years. When we returned to school last August, Deanna gave me a jar of her peaches.

The method she used to can them was one I hadn’t heard of. She learned it from her mother, who learned it from a roommate in the 1940s. Deanna assured me that her method was “easy peasy” (maybe even “lazy”). Well, the truth is that canning ANYTHING is a bit of work, including these peaches. But I wanted to try her method for myself, so that’s what I did with this year’s peck of peaches.

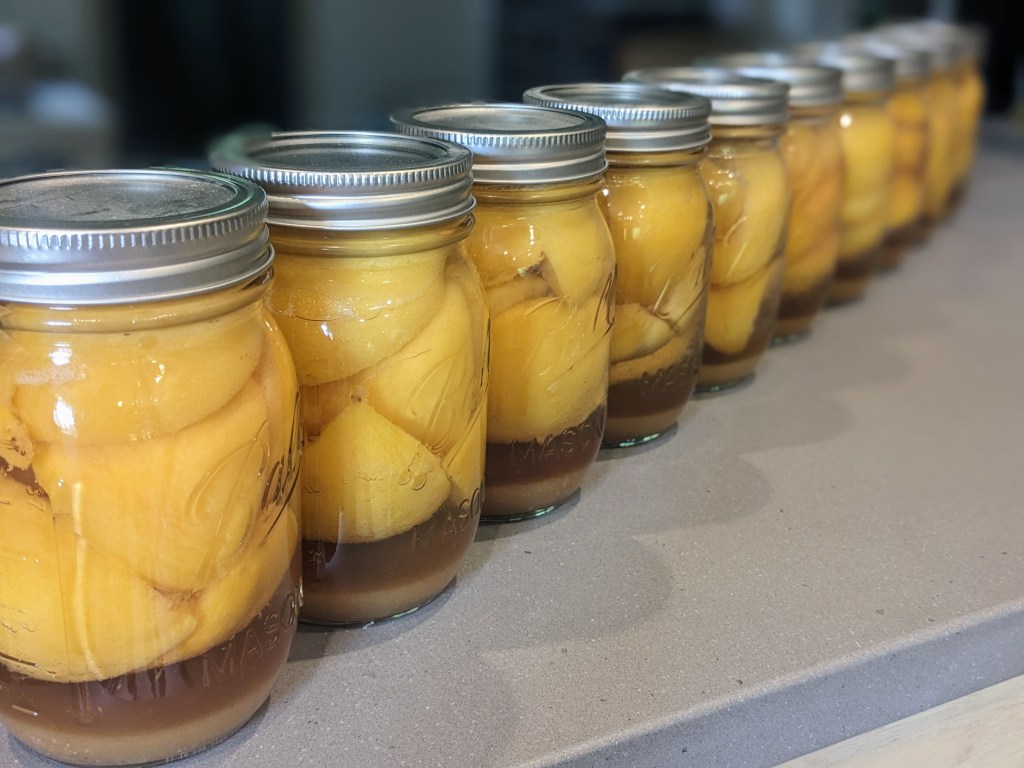
In short, the thing that makes these peaches “easy” is that you don’t create any kind of syrup to pour over the peaches before processing them. You just put sugar directly into each canning jar, add the prepared peaches, top them off with water, and process them. The sugar will dissolve on its own over the next few months, gradually enhancing the natural sweetness of the peaches.


While it might be easy to preserve the peaches, the hard part is the patience required until they’re ready to eat! The sugar will not fully dissolve until about November. That means the peaches should be ready just in time for a Thanksgiving brunch!


Deanna’s Canned Peaches

Ingredients:

A peck of peaches (or as many as you want to can; a peck will produce about 12-16 pint-size jars)
Granulated sugar
Water

Supplies:

Canning jars
Lids and rings
Canning pot for hot-water bath

Directions:

  1. Wash the peaches, cut them in half, remove the pits (freely!), and drop the peach halves in a pot of boiling water for about 30 seconds.
  2. Use a slotted spoon to remove the peach halves to a bowl of icy cold water. Let them sit for a few minutes, and the change in temperature will loosen the skins so that you can slide them right off the peaches.
  3. Ready for the easy part? Scoop 1/4 cup of sugar into each of your canning jars (or 1/2 cup sugar if you are using quart-size jars). Pack the jar with the prepared peach halves (or quarters, or whatever size you’d like your peaches), and then fill the jar with water. Leave about 1/2 inch of space at the top of the jar.
  4. Wipe the rims of each jar with a damp paper towel, apply the lids and rings, and process the jars in a boiling hot-water bath for the prescribed amount of time based on your altitude. The higher your altitude, the longer the processing time will be; it can range from 20 to 45 minutes.*
  5. When time is up, carefully lift the jars from the water bath. I put a towel on the countertop to protect it from the very hot jars as they cool. Allow the jars to sit for about 24 hours before you label them and tuck them away until November. 🙂

As the jars cool, you should hear some satisfying “pops” as the lids seal to the jars. After the jars have cooled, you can verify a proper seal by making sure the “button” in the center of each lid is sucked down tightly. If any jars did not seal correctly, just refrigerate them and eat those peaches sooner rather than later. 


*If you haven’t canned goods using a hot-water bath before, you might want to read or watch a more detailed tutorial first. There are so many good ones out there.

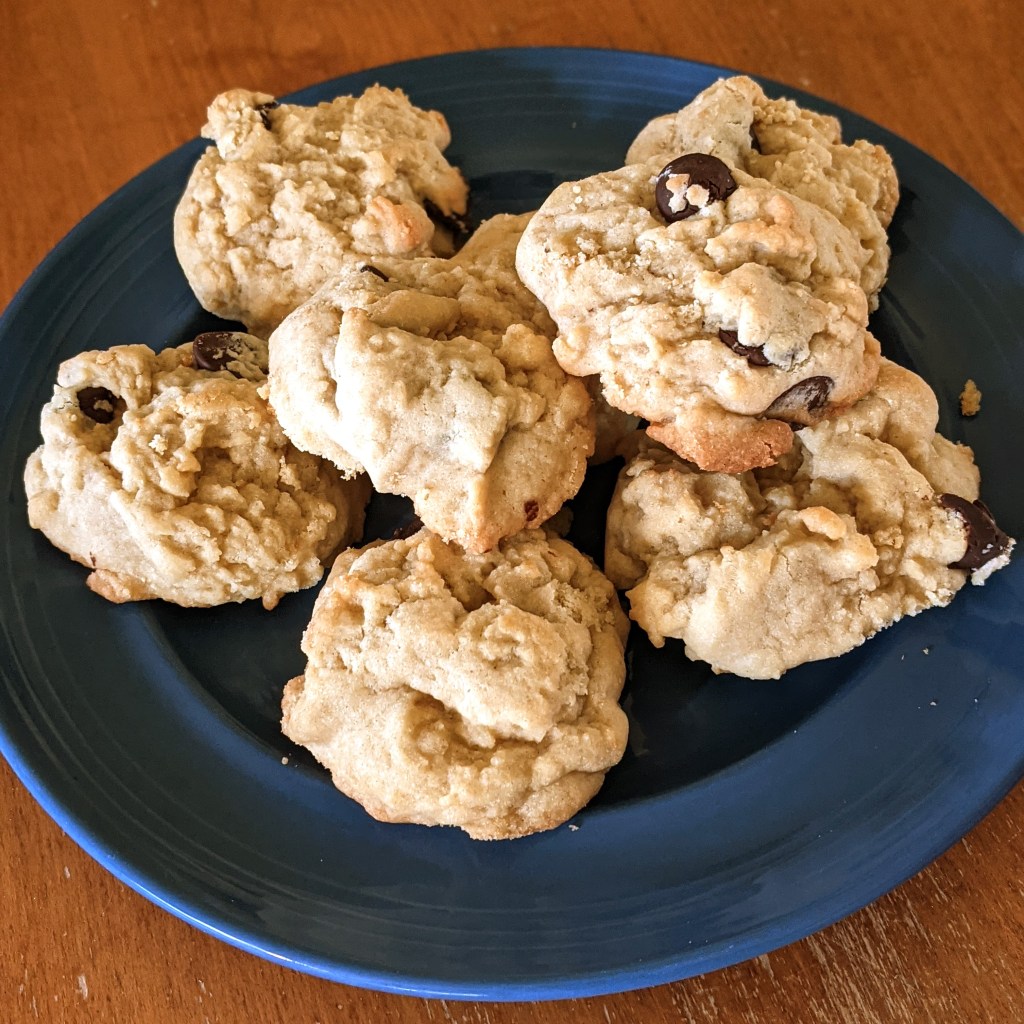
Once I got started with these peaches, I couldn’t stop! I went back to Lynd for more peaches, and made peach salsa and peach jam too. Not as “easy” as Deanna’s Canned Peaches, but definitely worth the effort.


While the peaches are a summertime favorite, Lynd is a worthwhile destination all year long. They offer a variety of u-pick fruits and vegetables, specialty treats and crafts from local vendors, community events with food trucks and music, and even tours for school groups. If you live anywhere nearby, I recommend getting on their email list to receive info and updates!

By the way—are you curious what a peck of peaches is, exactly? Maybe you already know. But I didn’t. So when I bought my peaches at Lynd’s, I asked the worker: What is a peck, anyway? She hemmed and hawed a little—it seems to be one of those things you just accept without really questioning. But then she said, “Well, I think it’s like 10 or 11 pounds, something like that.” 


Not bad! But in fact, I learned that in the U.S. a peck is a measure of dry volume, not weight. That means a peck of peaches would weigh a lot more than a peck of marshmallows! The term has been around since the 1300s, a vintage similar to its friend the bushel. (Four pecks equal one bushel.)

Maybe next time I go to Lynd I’ll bag a bushel of beautiful beets. But only if they’re out of pickled peppers or perfect peaches.


Source:
Britannica, The Editors of Encyclopaedia. “peck”. Encyclopedia Britannica, 29 Apr. 2004, https://www.britannica.com/science/peck. Accessed 14 August 2023.

Eat

The Secret to Dry January: Non-Alcoholic Beer

Although it’s been around since 2013, somehow I had not heard of “Dry January” until this year. 

“Sober October” I was familiar with, when people abstain from alcohol for the month to give their livers a rest and reset their overall relationship with booze.

After all the excesses of the holiday season, I can see why Dry January is a thing and appeals to people who either a) want to get their healthy routines back on track or b) want to start some healthier habits. 

I had intended to take part in Sober October, but . . . my motivation just wasn’t there. So I did a Dry January! My husband joined me. We’re not planning to swear off alcohol forever, and PLEASE do not use the phrase “sober-curious” (just . . . ick). We were simply enjoying a healthy challenge. 

One of the ways we kept things interesting was by sampling the world of non-alcoholic (NA) beers. It’s quite a growing industry, with more and more people experimenting with these brews. It was a lot of fun to explore NA brews and learn more about how they are made.

So . . . How Is NA Beer Made?

Something to note, there is a distinction between NA (non-alcoholic) and AF (alcohol-free) beer. NA beer, by law, can have up to 0.5% ABV (alcohol by volume). AF beer has 0.0%. Just something to be aware of, since some people use the terms interchangeably.

All beer is born from the same four ingredients—water, grain, hops, and yeast. From that blueprint, brewers can take beers in seemingly infinite taste directions. But how do they make it non-alcoholic? In a nutshell, they can either:

  1. Brew regular beer and then remove the alcohol
  2. Brew beer that doesn’t create much alcohol to begin with

Method #1
To remove alcohol from fully-leaded beer, brewers can:

  • Distill It: Alcohol has a lower boiling point than water, so if beer is heated to the correct temperature, the alcohol will boil off but leave the rest of the beverage behind. Brewers can also use vacuum pressure rather than heat to force the alcohol to evaporate.
  • Filter It: There are a few ways to filter out the alcohol. With reverse osmosis, pressure is used to filter full-strength beer through a semipermeable membrane. The smaller water and alcohol molecules slip through the membrane, but the beery-tasting goodness remains behind. The brewer can then add water and carbonation to the concentrate before bottling it up. Brewers can also force nitrogen gas through beer to filter out the alcohol. 
  • Dilute It: With this method, brewers craft their full-strength beer as usual, then water it down to achieve a lower ABV. Maybe home brewers do this? I have not been able to find any commercial brewers that claim to use this method, so I haven’t sampled any diluted beers.

Method #2
Alternatively, brewers can craft NA beer right out of the gate in a couple of ways.

  • Controlled fermentation (aka “microfermentation”): When yeast gobble up the sugars from grains during the fermentation process of beer making, one byproduct is alcohol. By using grains with less sugar (like rice or corn instead of barley or wheat) or by using special strains of yeast, brewers can “control” how much fermentation occurs, therefore controlling the amount of alcohol produced (and making sure it stays below the 0.5% ABV threshold). Brewers can control the amount of fermentation by playing with other variables too, like temperature, pressure, and acidity. 
  • Simulated fermentation: With this technique, brewers don’t actually ferment the beer at all (because, remember, fermentation creates alcohol). They add special ingredients and enzymes to the base ingredients to replicate a fizzy, hoppy beverage. I was curious to sample a beer made using this method, but I couldn’t seem to find any. Then I came across an explanation on taprm.com that made me laugh out loud and also probably explains my dilemma:

“There’s also a process referred to as ‘simulated fermentation,’ which basically means a brewer uses a blend of ingredients that simulate the flavor a beer has after fermentation. This isn’t a popular method of creating non-alcoholic beer, because quite frankly, they usually taste like garbage.” 

The Tasting Room

On the last Saturday of Dry January, I put together a collection of NA beers to conduct a tasting with a small group of friends. The lineup included beers made from different methods of removing alcohol (as nearly as I could tell from my research). We had a mix of lager-ish beers and IPA-ish beers.

The Lager-ish Lineup:


Athletic Upside Dawn Golden (controlled fermentation)
Clausthaler (controlled fermentation)
O’Doul’s Golden (distillation)

The IPA-ish Lineup:


Athletic Free Wave Hazy IPA (controlled fermentation)
BrewDog Nanny State (controlled fermentation)
Untitled Art Hazy IPA (filtration)

The Results:

People were pleasantly surprised that all of the beers actually tasted like beer. If they hadn’t known that the beers were non-alcoholic, they would not necessarily have guessed them to be. Also in the pro column: The beers are lower in calories than regular brews, won’t interfere with your sleep, and can’t be blamed for next-day headaches. But that being said . . . it IS near-beer. Everything was pretty good, but nothing was truly great. Overall taste-wise, we concluded that the beers had a little less flavor, a little less carbonation, and a little more bitterness than we would want from a really good brew. But you know what? We had so much fun sampling the different beers! Goes to show that the most important ingredient for a good time is the company, not the alcohol. 

So maybe you’ll consider indulging your “sober-curiosity” next Dry January. I’m glad I did. I discovered not only that non-alcoholic beer is better than nothing . . . it’s not half bad!


References:

From NA Beer Club

From Renegade Brewing

From TapRm

From Unknown Brewing

Eat

Actual Best Chocolate Chip Cookies

I’ve been keeping something secret for way too long. 

I have a recipe for the best chocolate chip cookies. I get rave reviews when I make these, and people frequently request the recipe. It’s funny because the secret ingredient is not something I put IN the cookie dough, but rather something I leave out.

I enjoy desserts—especially desserts that feature chocolate—but I do not like things that are overly sweet. Plus, sugar’s inflammatory effects on our bodies are well-documented, impacting organs, joints, skin, mood. It’s one of the few things doctors and nutritionists seem to agree upon, so I try to limit my sugar consumption as much as possible.

Homer has a different philosophy…

I modify recipes all the time, for health reasons or simply because I don’t have a required ingredient on hand. One thing I’ve discovered is that I can pretty much ALWAYS reduce the amount of sugar a recipe calls for, and it doesn’t adversely affect the final result. In fact, sometimes it makes the result spectacular.

Chocolate Chip Cookie Time

I’ve been making these cookies for years, so I don’t remember exactly when I first tried this experiment. But I was following a recipe for “best chocolate chip cookies” I’d found on allrecipes.com, and when it came time to measure out the sugar, I was like, Dang that’s a lot of sugar. I just couldn’t do it. I decided to try cutting the amount of white sugar and brown sugar in half. The cookies turned out cakey and fluffy, super soft in the center but nicely snappy on the outside. With less sugar in the recipe, the cookies do not spread and carmelize as much as others I’ve made.

Ready for the secret recipe? Here we go.


Ingredients:

1 cup unsalted butter, softened
1/2 cup white sugar
1/2 cup brown sugar
2 eggs
2 tsp vanilla extract
3 cups all-purpose flour
1 tsp baking soda + 2 tsp hot water
1/2 tsp salt
2 cups semi-sweet chocolate chips (I like to use dark chocolate morsels)

Steps:

  1. Preheat the oven to 350 degrees.
  2. Cream together butter and both sugars until smooth.
  3. Add eggs to batter, beating in one at a time (you’ll get better emulsification of the ingredients; here’s why).
  4. Add the vanilla.
  5. Dissolve the baking soda in hot water then add to batter, along with the salt.
  6. Stir in the flour.
  7. Fold in the chocolate chips.
  8. Drop by spoonfuls onto a cookie sheet lined with parchment paper.
  9. Bake for about 10 minutes, just until the edges are starting to brown.
  10. Remove to a cooling sheet/rack immediately.

You should get between two and three dozen cookies from this recipe, depending how big you make them. 


I hope you enjoy the cookies as much as I do! And maybe the results will embolden you to play with sugar reduction in other recipes as well.